Inside a Crawl Space Encapsulation: The Phases That Happen Before the 'After' Photo
The Work You Don't Usually See
That's Ryan giving you a tour of a crawl space job we're working on right now outside Mahomet. Debris is already hauled out. Lights are already hung. Trenches are dug for the drain tile. The crew's in the middle of it.
Most contractors won't show you this phase. They'll show you the nasty "before" picture to justify the price, then the clean "after" photo to prove they did something. But everything that happens in between? That's where the actual quality lives.
We don't have a problem showing you the messy middle because that's where you see how we work. The details. The sequence. The care we take even when we think nobody's watching.
If a contractor only wants you to see the finished product, there's usually a reason.
Why Most Contractors Won't Show You Mid-Job
Here's the thing about before-and-after photos: they're easy to fake. Not the images themselves, but what they represent.
You can make any crawl space look "finished" with a clean vapor barrier and some carefully angled photos. But did they remove all the debris first, or just cover it up? Did they install proper drainage, or just seal over the moisture problem? Did they take time to wrap the piers, or skip it because you'll never see it once the barrier's down?
The middle phases reveal the truth. That's when you see if a crew is methodical or rushing. If they're thinking long-term or just trying to get to the next job. If they actually care about quality or just want the work to look done.
We show the process because we're not hiding anything. Ryan's walking you through a job site that's actively messy because we know the quality is in how we're approaching each phase. You don't have to just trust us that we did it right—you can see it happening.
Most contractors can't offer that kind of transparency. We can.
Phase 1: Debris Removal and Cleanup
Look at the pile of debris in Ryan's video. That's everything we pulled out before we started the actual encapsulation work. Old vapor barrier, leftover materials, random junk that's been down there for who knows how long.
This always happens first. Not at the end when we're trying to finish up. Not halfway through when it's in our way. First.
Why? Because you can't do quality work in a mess. You can't dig proper trenches if you're working around piles of deteriorating plastic. You can't install drain tile correctly if you're tripping over debris. And you definitely can't see what you're doing if the space is cluttered.
Some crews will push the junk to the corners and work around it. Or worse, they'll just lay new vapor barrier right over the top of it. Out of sight, out of mind.
We haul it out completely. Every bag of it. Because a clean workspace isn't just about appearances—it's about being able to do the rest of the job right.
Phase 2: Lighting Installation
Notice the lights are already hung in both rooms. We're not even done with the drainage work yet, but the lighting's in.
That's intentional.
We need to see what we're doing. Crawl spaces are dark. If you're working with just a headlamp or a work light you keep moving around, you miss things. You can't inspect your own work properly. You can't catch problems before they become bigger problems.
So lights go up early in the process. Throughout the entire space, not just near the access point.
This also matters for everyone who comes after us. Your HVAC tech in five years. The plumber who needs to check a line. The home inspector if you sell. They'll actually be able to see the ductwork, the plumbing, the structure—all of it clearly visible.
Good lighting isn't an extra. It's basic quality control. If a contractor finishes an encapsulation and your crawl space is still dark, they either cut corners or they don't understand how these spaces actually get used long-term.
Phase 3: Drainage and Sump Pump Work
You can see the trench Dennis and Jackson are digging for the drain tile in Ryan's walkthrough. That's not a quick scrape with a shovel. That's proper depth so water actually flows where it's supposed to—downhill toward the sump pit.
On this job, we're replacing two old sump pumps. Not repairing them. Not "seeing if we can get a few more years out of them." Replacing them completely.
Why? Because the previous pumps failed. Maybe they were installed wrong. Maybe they were cheap equipment that wasn't rated for the job. Maybe both. Either way, we're not patching a failing system—we're installing new pumps that will actually handle the water this crawl space deals with.
We are connecting to the existing discharge lines because they're still in good shape. No point in ripping out and replacing something that's working fine. But the pumps themselves and the drainage system feeding into them? That's all getting done right this time.
Here's what matters: drainage has to be in place before we seal anything. If you cover up a crawl space with a moisture problem and no way for water to escape, you haven't solved anything. You've just hidden it under a layer of plastic.
The trench work happens now. The sump pumps go in now. Then—and only then—does the crawl seal go down.
Phase 4: Pier Wrapping and Prep
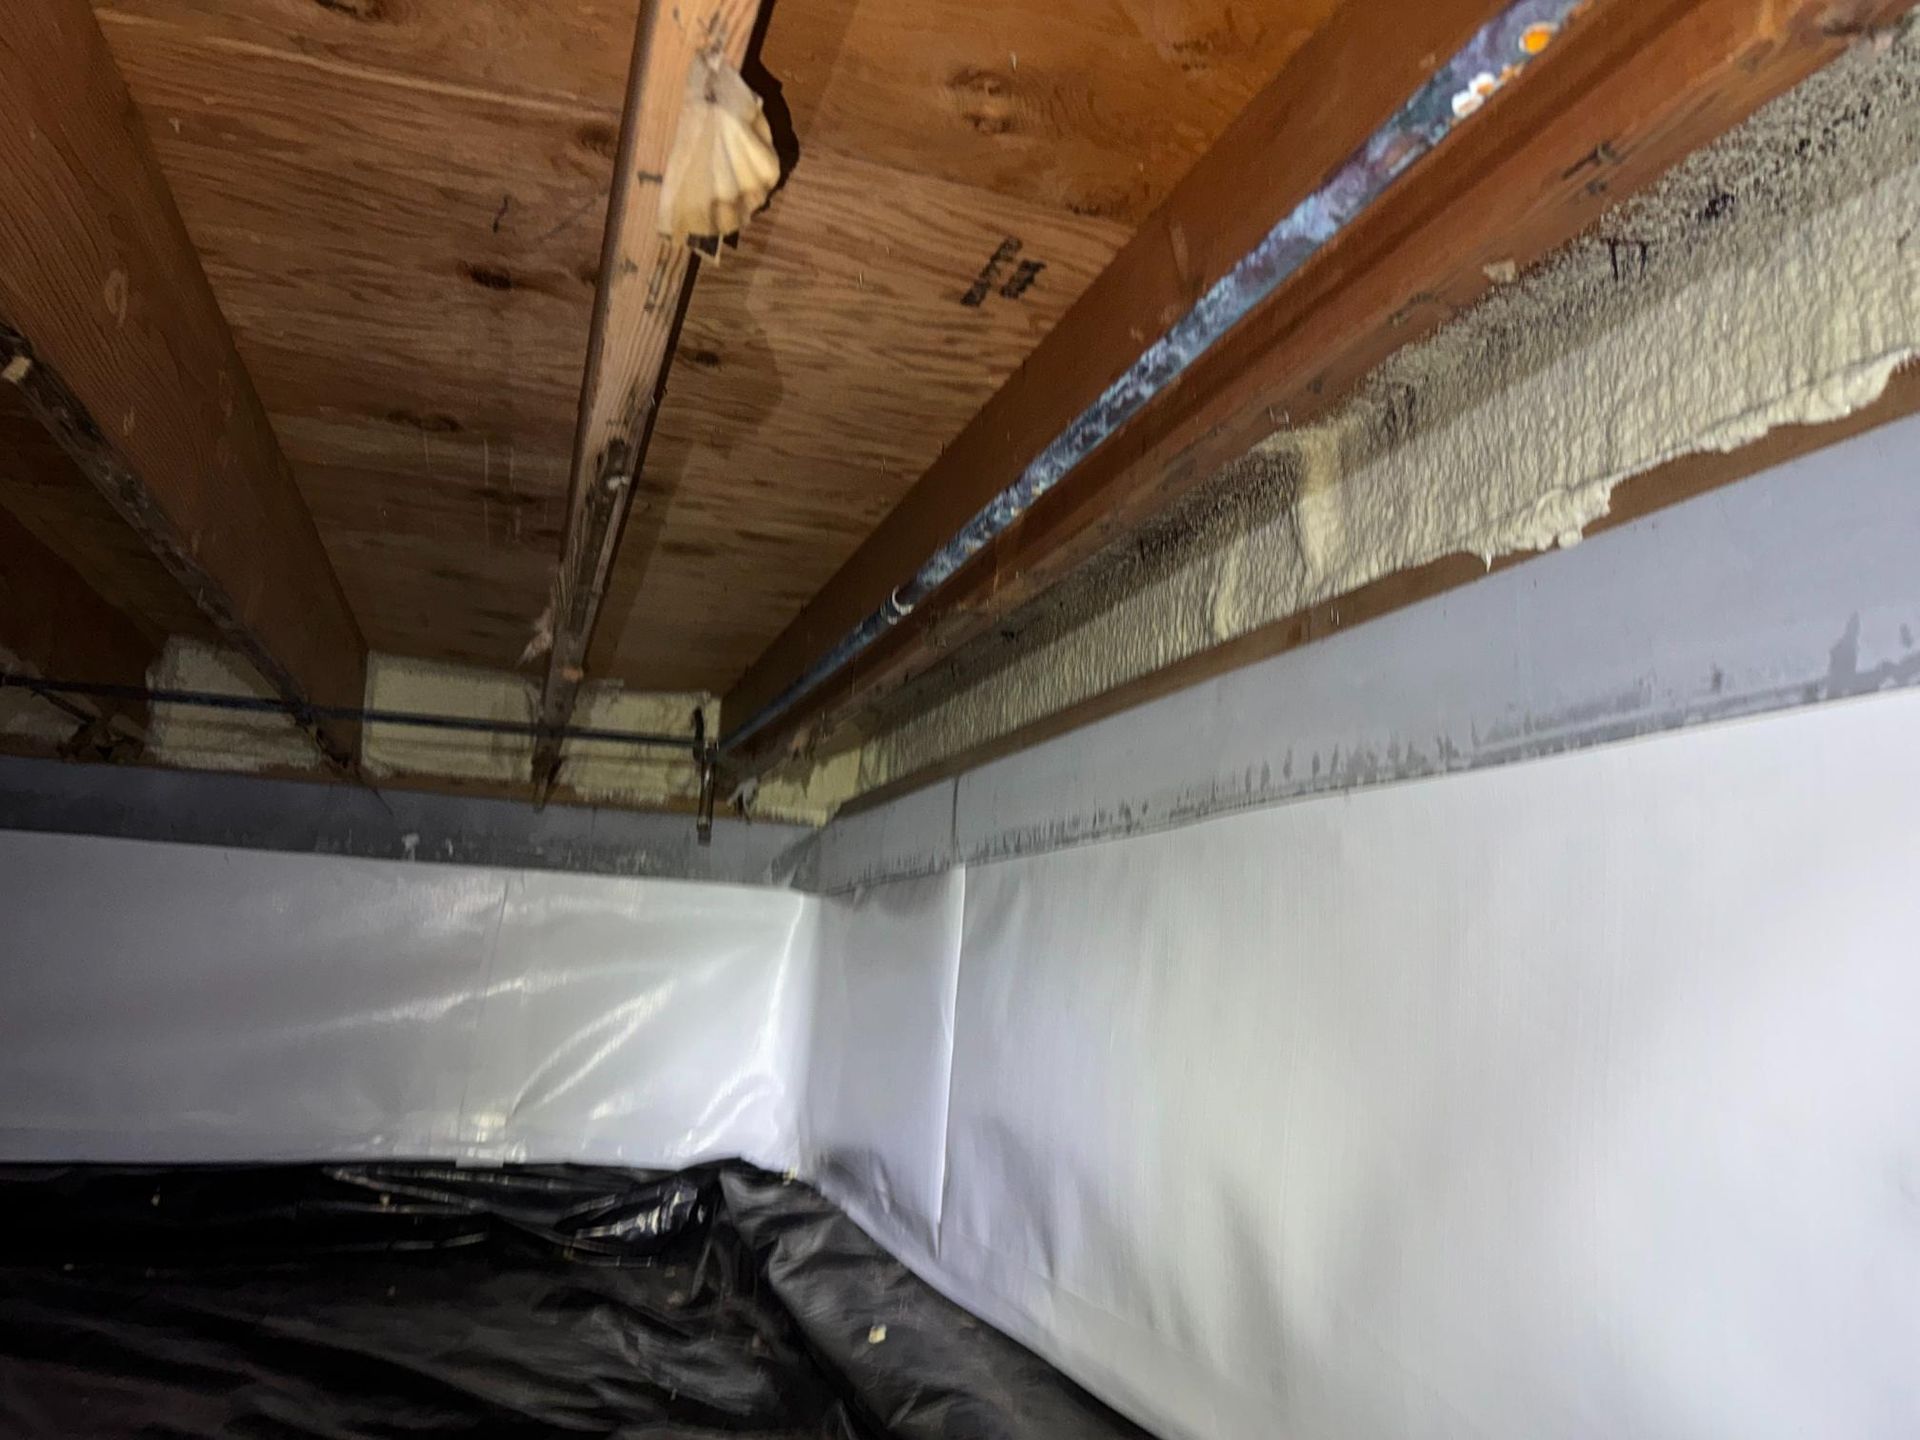
The piers in this crawl space will get wrapped before we seal the floor. That means covering the concrete or block supports with vapor barrier to protect them from moisture exposure.
Why does this matter? Because those piers are holding up your house. Constant moisture exposure leads to deterioration over time. Wrapping them is simple, but it's one of those details that separates a thorough job from a rushed one.
And here's the thing: once the crawl seal goes down, you can't easily go back and wrap piers you missed. You'd have to cut the floor barrier, do the wrapping, then patch it back together. Most crews won't bother at that point.
So it happens in the right sequence. Debris out, lights up, drainage in, piers wrapped, then seal the floor.
Every phase builds on the one before it. Skip a step or do things out of order, and you're either creating more work for yourself or leaving gaps in the protection.
Phase 5: Crawl Seal Installation
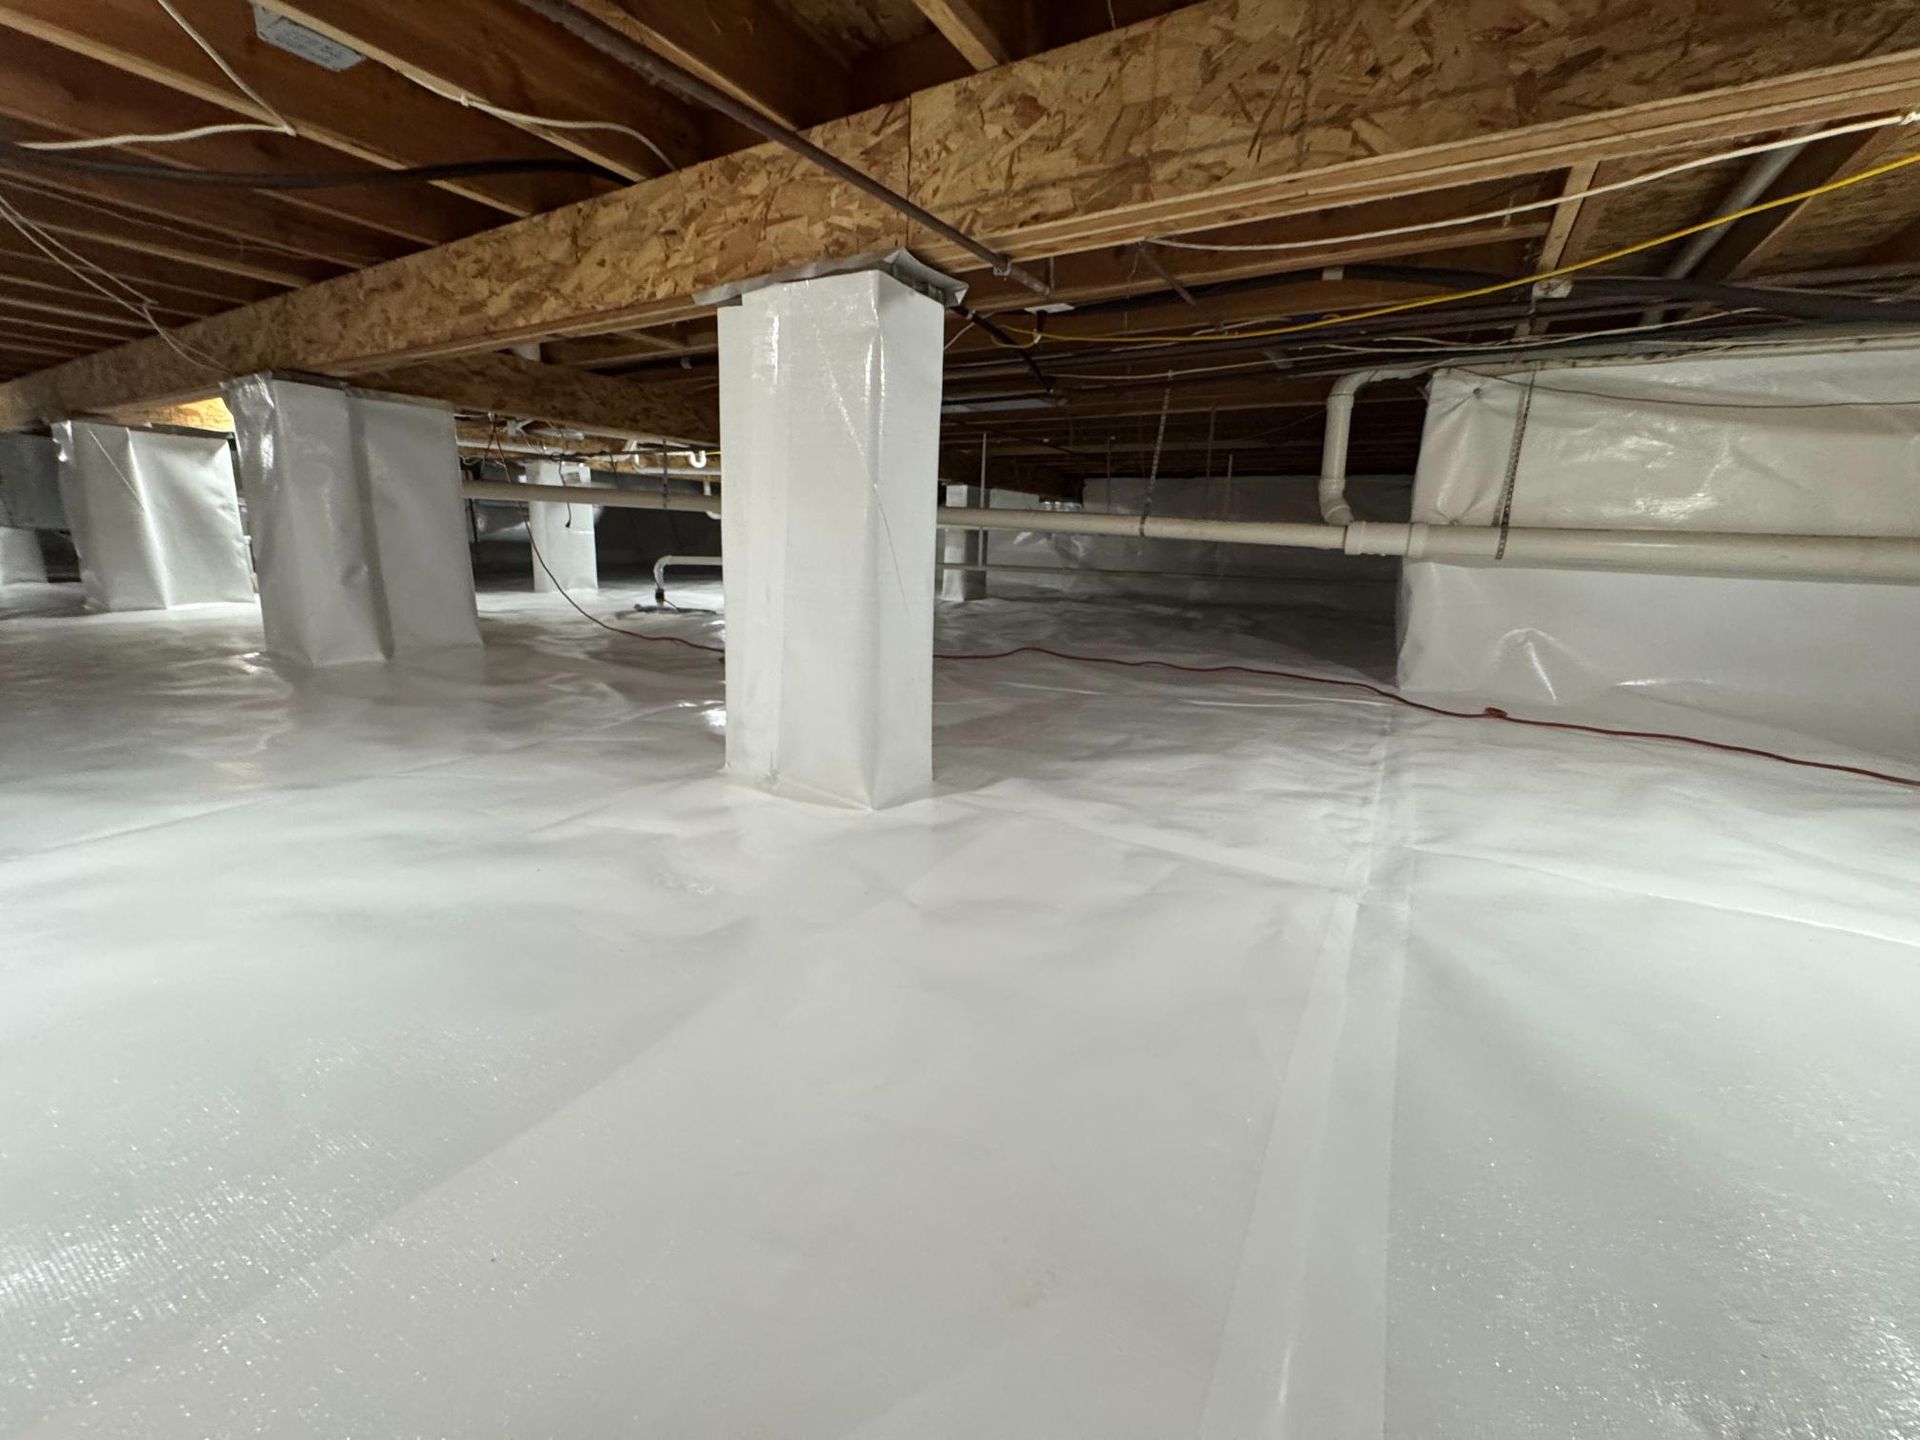
The crawl seal—that bright white vapor barrier you see in all the "after" photos—is the last major phase. Not the first. Not the middle. The last.
By the time we're ready to lay down the barrier, everything else is done. The debris is gone. The lights are installed and working. The drainage system is in place and tested. The piers are wrapped. The space is actually ready to be sealed.
On this job, we're doing it room by room. Complete one area properly before moving to the next. That keeps the work organized and lets us maintain quality control as we go.
When that vapor barrier goes down, it's going over a crawl space that's been thoroughly prepped. Clean. Lit. Protected from water. Structurally sound.
That's why the "after" photo looks so good. Not because we're masters of camera angles, but because every phase that happened before it was done right.
The finished product is only as good as the work you don't see in the final pictures.
Book A Free Inspection Now
Your crawl space problems aren't going to fix themselves. But they are fixable. Let's get it done — the right way, permanently.
Or call us directly (217) 863-9559
Ready to See How Crawl Space Work Should Be Done?
We'll come out and do a free inspection of your crawl space. Show you exactly what we find, walk you through what needs to happen, and explain our process step by step.
No pressure, no gimmicks. Just Chris or Jeff explaining what's going on under your house and how we'd approach fixing it.
And if you hire us, you'll see every phase of the work—not just the before and after.
Give us a call. We're right here in Mahomet, and we're ready to help.