What Really Happens During a Crawl Space Drainage Job
When a homeowner finally makes the call, something shifts.
We come out and do a thorough inspection. We get under the home and look at everything — and we show you what we're seeing in real time so there are no surprises when we sit back down with you. You'll know exactly what's down there. You'll know exactly what it takes to fix it. And you'll have a clear picture of what your home looks like after the work is done.
No pressure. No scare tactics. Just an honest look at what's happening and a straightforward plan to address it.
Most homeowners tell us the same thing after that first visit.
They wish they hadn't waited as long as they did.
More Goes Into This Than Most People Realize
Most people picture crawl space drainage as a pretty simple job. Guy goes under the house, puts down some plastic, installs a pump, done. Maybe a few hours of work.
That's not really how it works.
A proper drainage installation is a full day of physical, detailed work in a tight space. Sump pit getting dug by hand. Drainage channels laid out across the whole perimeter. Lighting installed throughout so the space is actually usable when we leave.
Every step has to be done correctly or the moisture problem doesn't go away. It just gets hidden. And hidden moisture problems keep doing damage—quietly, slowly—until your floors start to sag or that musty smell starts creeping upstairs.
This is what the process actually looks like from start to finish.
Why Crawl Space Drainage Is More Than Just Plastic and a Pump
Here's what surprises most homeowners: a drainage system isn't one thing. It's three things working together.
There's the sump pit, which collects the water. There are the drainage channels, which direct water toward the pit. And there's the lighting, which makes the whole space functional for every service call that comes after.
Get any one of those wrong and the system underperforms. Skip one entirely and you're back to square one within a season or two.
We see this happen. A crew installs a sump pump but doesn't lay proper drainage channels, so water still pools in the corners. Or they rush the pit placement and it's not positioned where the water actually collects. Or they leave the space dark and the next contractor who needs to get under there can barely see what they're doing.
A proper drainage installation solves the moisture problem completely. Not temporarily. Not partially. A rushed one just delays it.
That's the difference between doing this right and doing it fast.
Step One: Digging the Sump Pit
Everything starts here.
The sump pit is where all the water in your crawl space ultimately needs to go. It's the low point of the whole system—the collection point that everything else drains toward. Get the location wrong and the rest of the system fights an uphill battle.
And it's not a quick dig. This is hand work in a crawl space, which means tight quarters, limited movement, and no shortcuts. The pit has to be dug to the right depth and positioned in the area where water naturally collects under your home. That's not always obvious. It takes experience to read a crawl space correctly and place the pit where it's actually going to do its job.
When the location is off, water bypasses the system entirely. It pools in corners, sits against your foundation walls, and keeps working on your floor framing. The pump runs but the problem doesn't go away.
Done right, the sump pit becomes the engine of the whole drainage system. Everything else builds from here.
Step Two: Laying the Drainage Channels
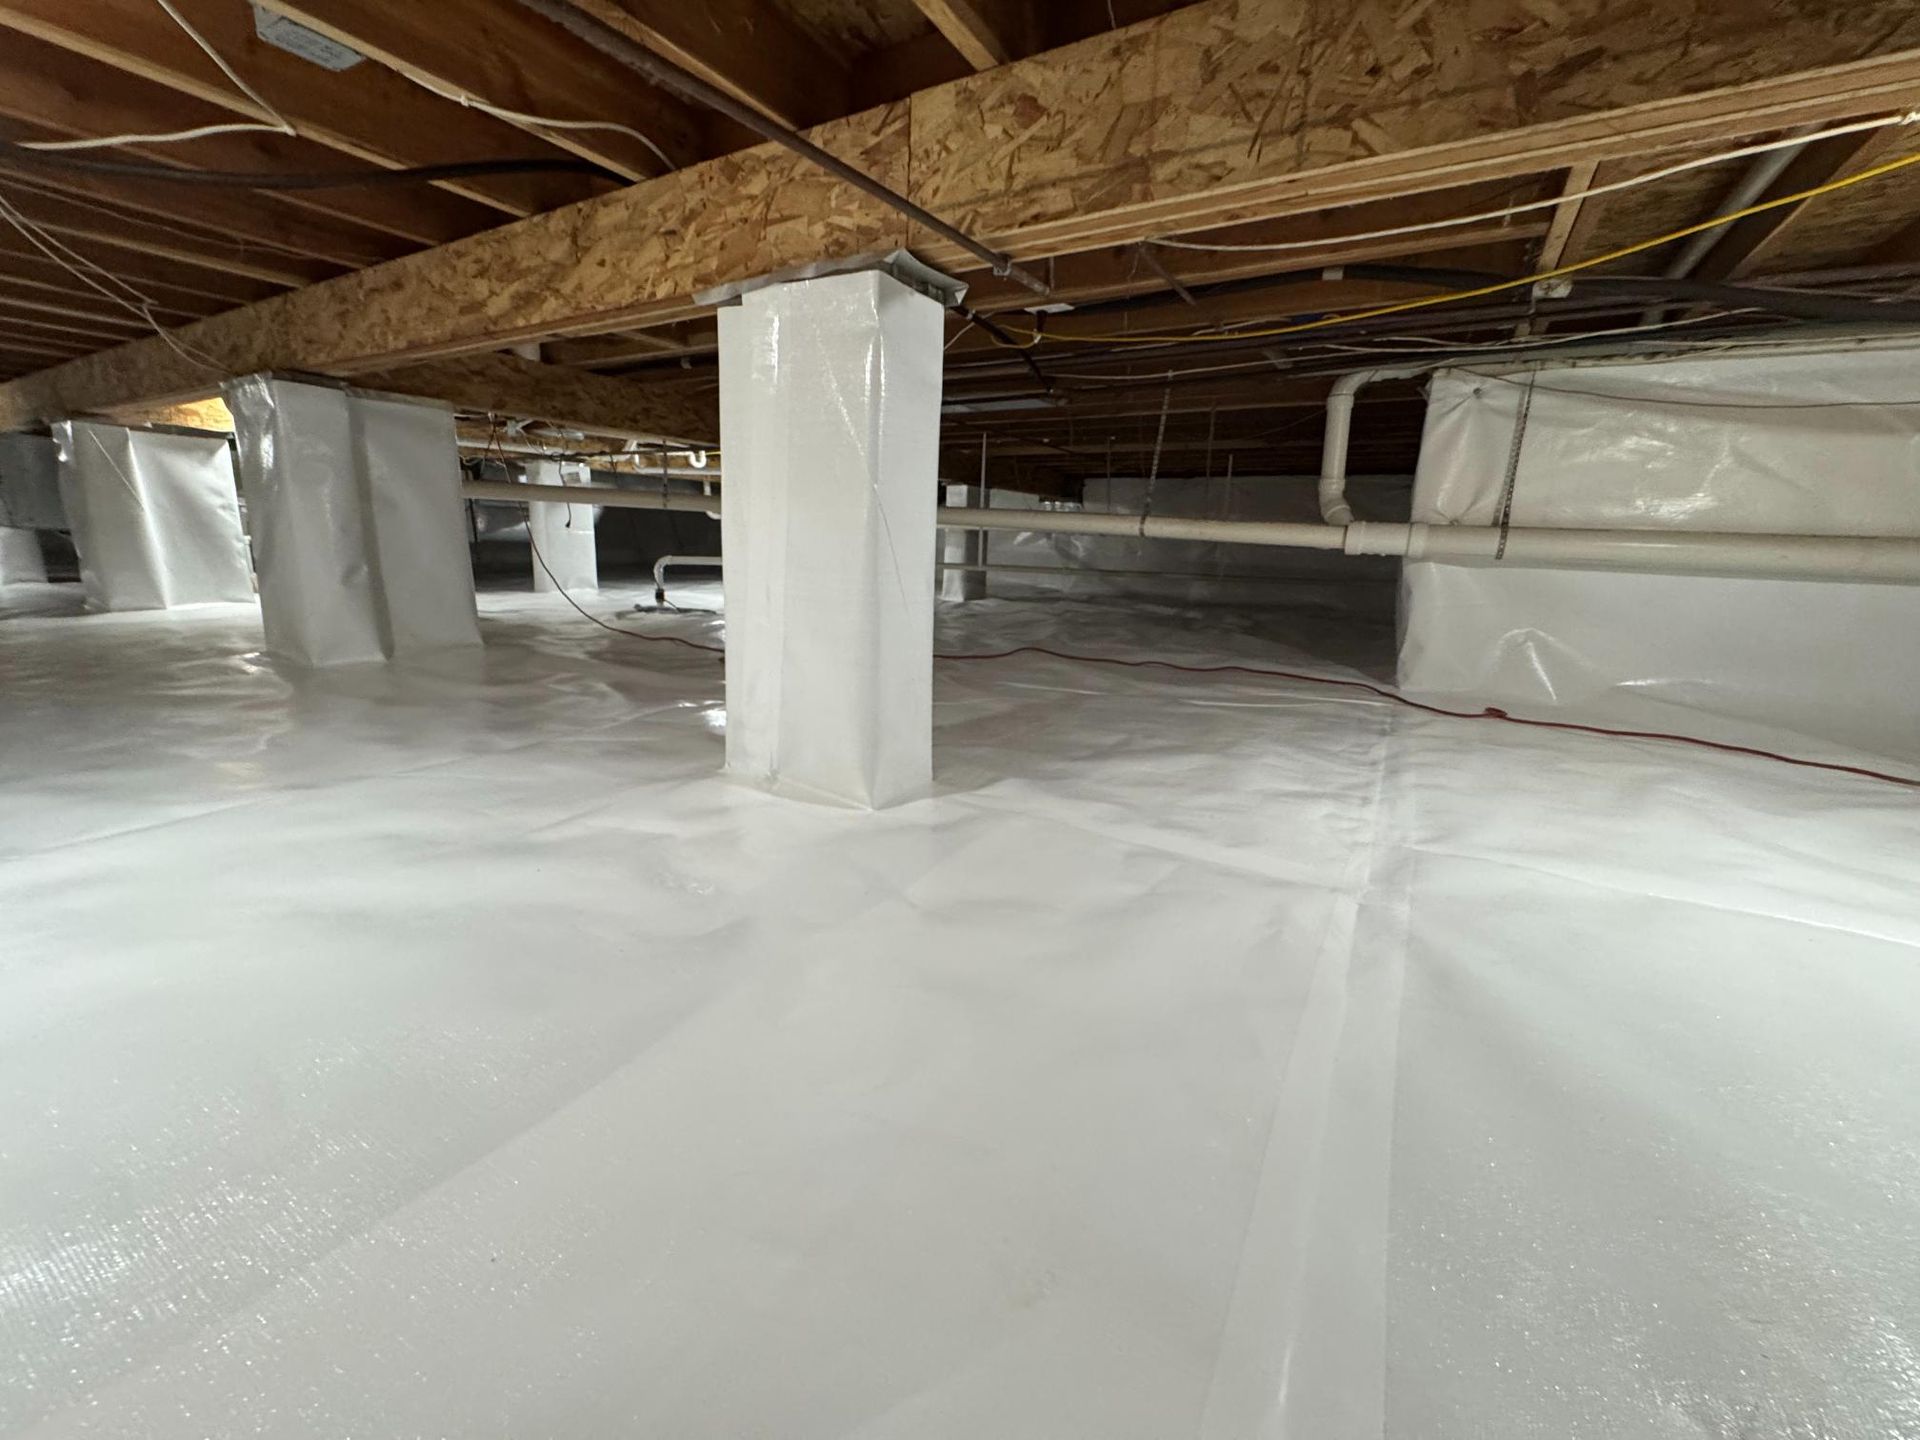
Once the pit is in, the drainage channels go down.
Think of them as the road system that moves water from every corner of your crawl space toward the sump pit. They run along the perimeter of the foundation, sloped correctly so water flows where it needs to go instead of sitting stagnant against your walls.
This is where a lot of rushed jobs fall apart. Proper slope matters. Placement matters. If the channels aren't laid out to cover the full perimeter, water finds the gaps. It doesn't matter how good your sump pump is if the water can't get to it.
We've seen jobs where channels were laid in a straight line across the middle of the crawl space and called done. Water was still pooling in every corner within one rainy season.
The goal isn't just to move some water. It's to move all of it, consistently, every time it rains. That only happens when the channels are laid correctly from the start.
Step Three: Getting the Lighting Right
Lighting might seem like the least important part of a drainage installation. It's not.
Your crawl space isn't a one-and-done situation. Your HVAC tech needs to get down there. Your plumber might need access. A home inspector will want to see everything clearly. If the space is dark, none of those service calls go smoothly.
Proper lighting means coverage throughout the entire space. Not one bulb near the access point that leaves everything past the first few feet in the dark. Actual lighting that lets you—or any future contractor—see the drainage channels, the sump pump, the floor joists, the ductwork. All of it.
When we leave a job, you should be able to walk into that crawl space and actually see what you're looking at. That's what fully lit means. Not mostly lit. Not kind of lit. All of it.
Book A Free Inspection Now
Your crawl space problems aren't going to fix themselves. But they are fixable. Let's get it done — the right way, permanently.
Or call us directly (217) 863-9559
Not Sure What's Going On Under Your Home?
If you're dealing with moisture, musty smells, soft floors, or you just want to know what's actually happening in your crawl space—give us a call.
We'll come out, do a thorough inspection, and show you exactly what we find. No pressure, no big sales pitch. Just Chris or me walking you through what's going on and what we'd recommend.
If there's a drainage problem, we'll find it. And if you want it fixed, we'll do it right.
Reach out anytime. We're here in Mahomet and we're ready to help.