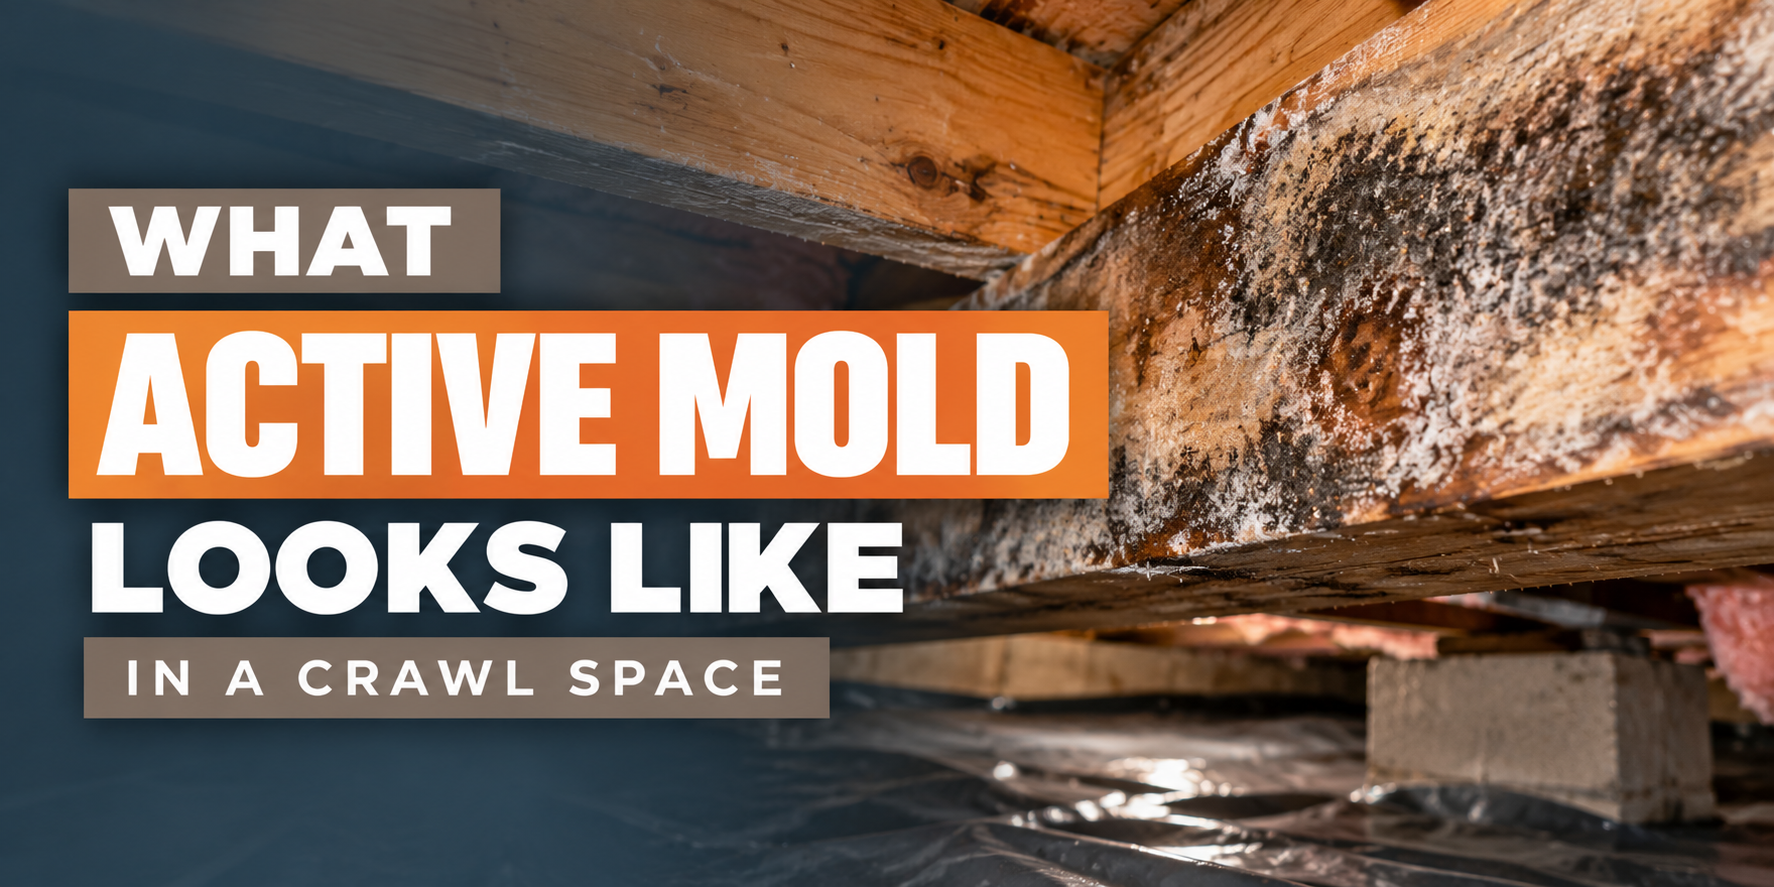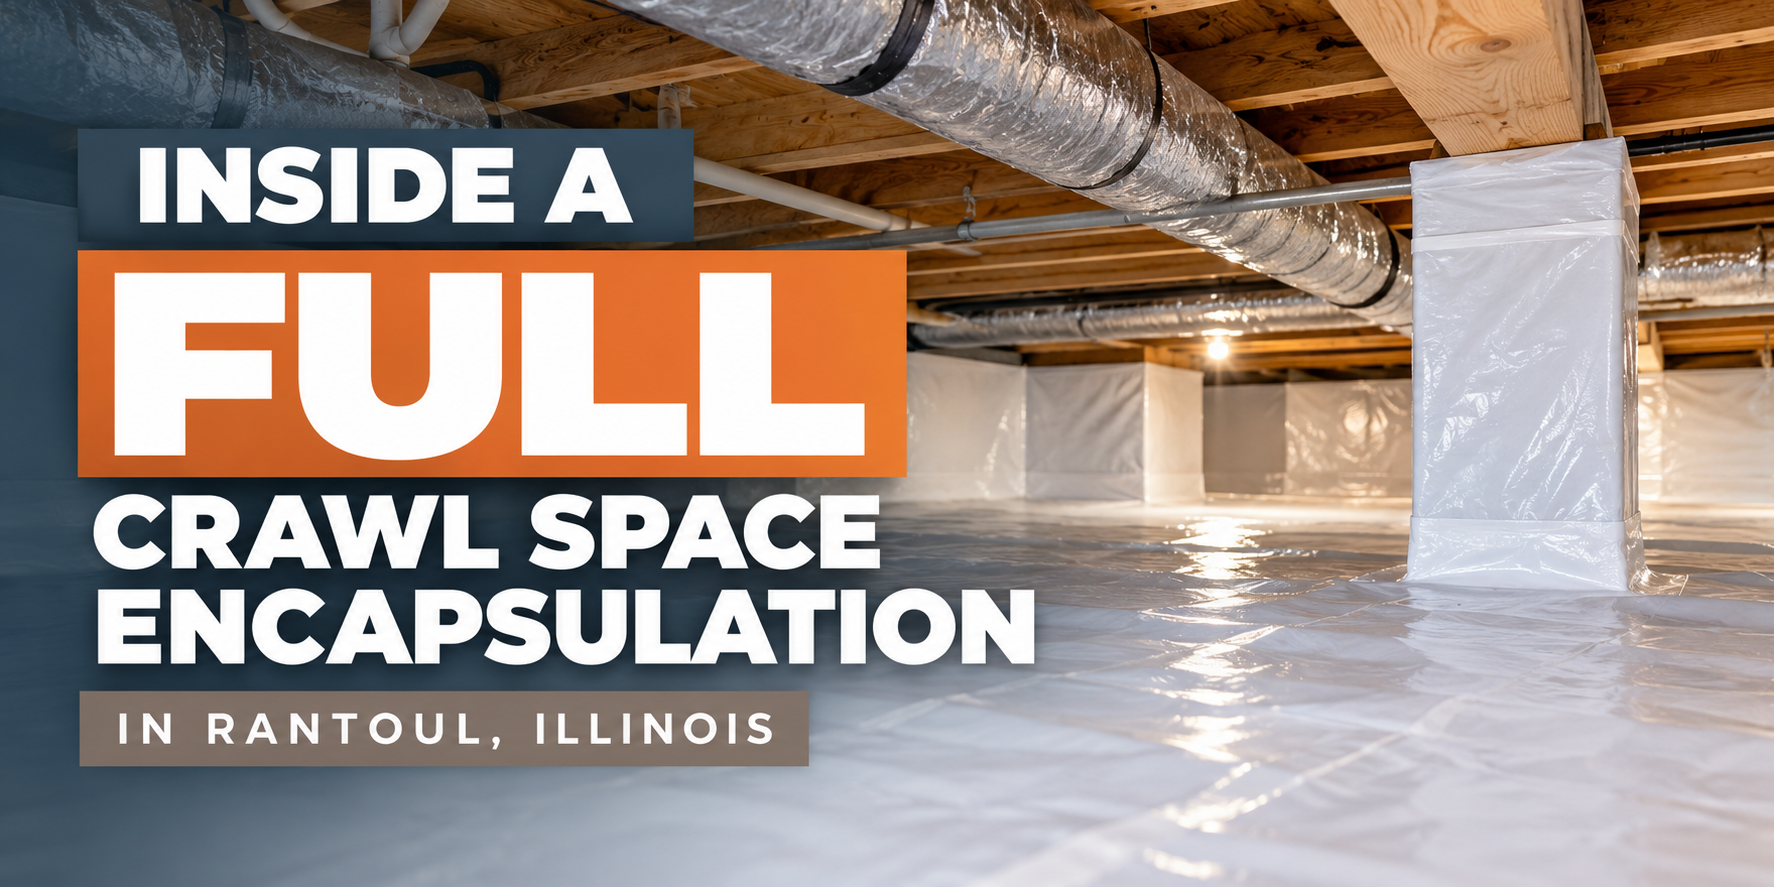
The Part of Crawl Space Work Most Homeowners Never See
When a homeowner finally makes the call, something shifts.
We come out and do a thorough inspection. We get under the home and look at everything — and we show you what we're seeing in real time so there are no surprises when we sit back down with you. You'll know exactly what's down there. You'll know exactly what it takes to fix it. And you'll have a clear picture of what your home looks like after the work is done.
No pressure. No scare tactics. Just an honest look at what's happening and a straightforward plan to address it.
Most homeowners tell us the same thing after that first visit.
They wish they hadn't waited as long as they did.
What's Really Happening Under Your Home
Most people never see this part of the job.
By the time we're done with a crawl space encapsulation, everything is sealed up and out of sight. Clean white vapor barrier covering the floor, walls sealed, dehumidifier running. It looks great. But what actually went into getting it that way? That's what most contractors never show you.
This time-lapse is that part. The part that happens before it looks good. The part where the real work gets done.
What you're watching is vapor barrier going down on the crawl space floor. Every inch covered, every seam overlapped, every edge sealed. No gaps, no shortcuts. This is the foundation of everything else we do — and it's the part that determines whether the encapsulation actually works.
What a Vapor Barrier Actually Does
Your crawl space floor is bare ground. And bare ground holds moisture.
Here in Central Illinois, our soil stays wet. Spring rains, humid summers, freeze and thaw cycles in winter — that moisture is constantly looking for somewhere to go. And without a proper barrier between that ground and your home, it goes up.
It works its way into your crawl space air first. Then into your floor framing. Into your subfloor. And eventually into the living space above. You start noticing musty smells. Floors that feel soft or start to squeak. Humidity that makes your whole house feel uncomfortable in the summer.
A vapor barrier stops that process at the source. It's a thick poly material that covers the entire crawl space floor, creating a seal between the ground and your home. Done right, it dramatically reduces the moisture level under your house — which protects everything above it.
That's what you're watching in this video. And that's why how it's installed matters so much.
Why Installation Quality Matters More Than Most People Think
Here's where a lot of crawl space jobs go wrong.
Laying vapor barrier isn't complicated. But doing it right takes time, attention, and a willingness to not cut corners when nobody's watching. And since most homeowners never see this part of the process, it's easy for crews to rush through it.
We've seen it plenty of times. Vapor barrier that doesn't reach the edges. Seams that aren't overlapped enough and separate over time. Edges that aren't sealed to the walls, leaving gaps where moisture can still work its way in. Plastic that's too thin and tears within a year or two.
None of that is visible once the job is "done." But the effects show up eventually.
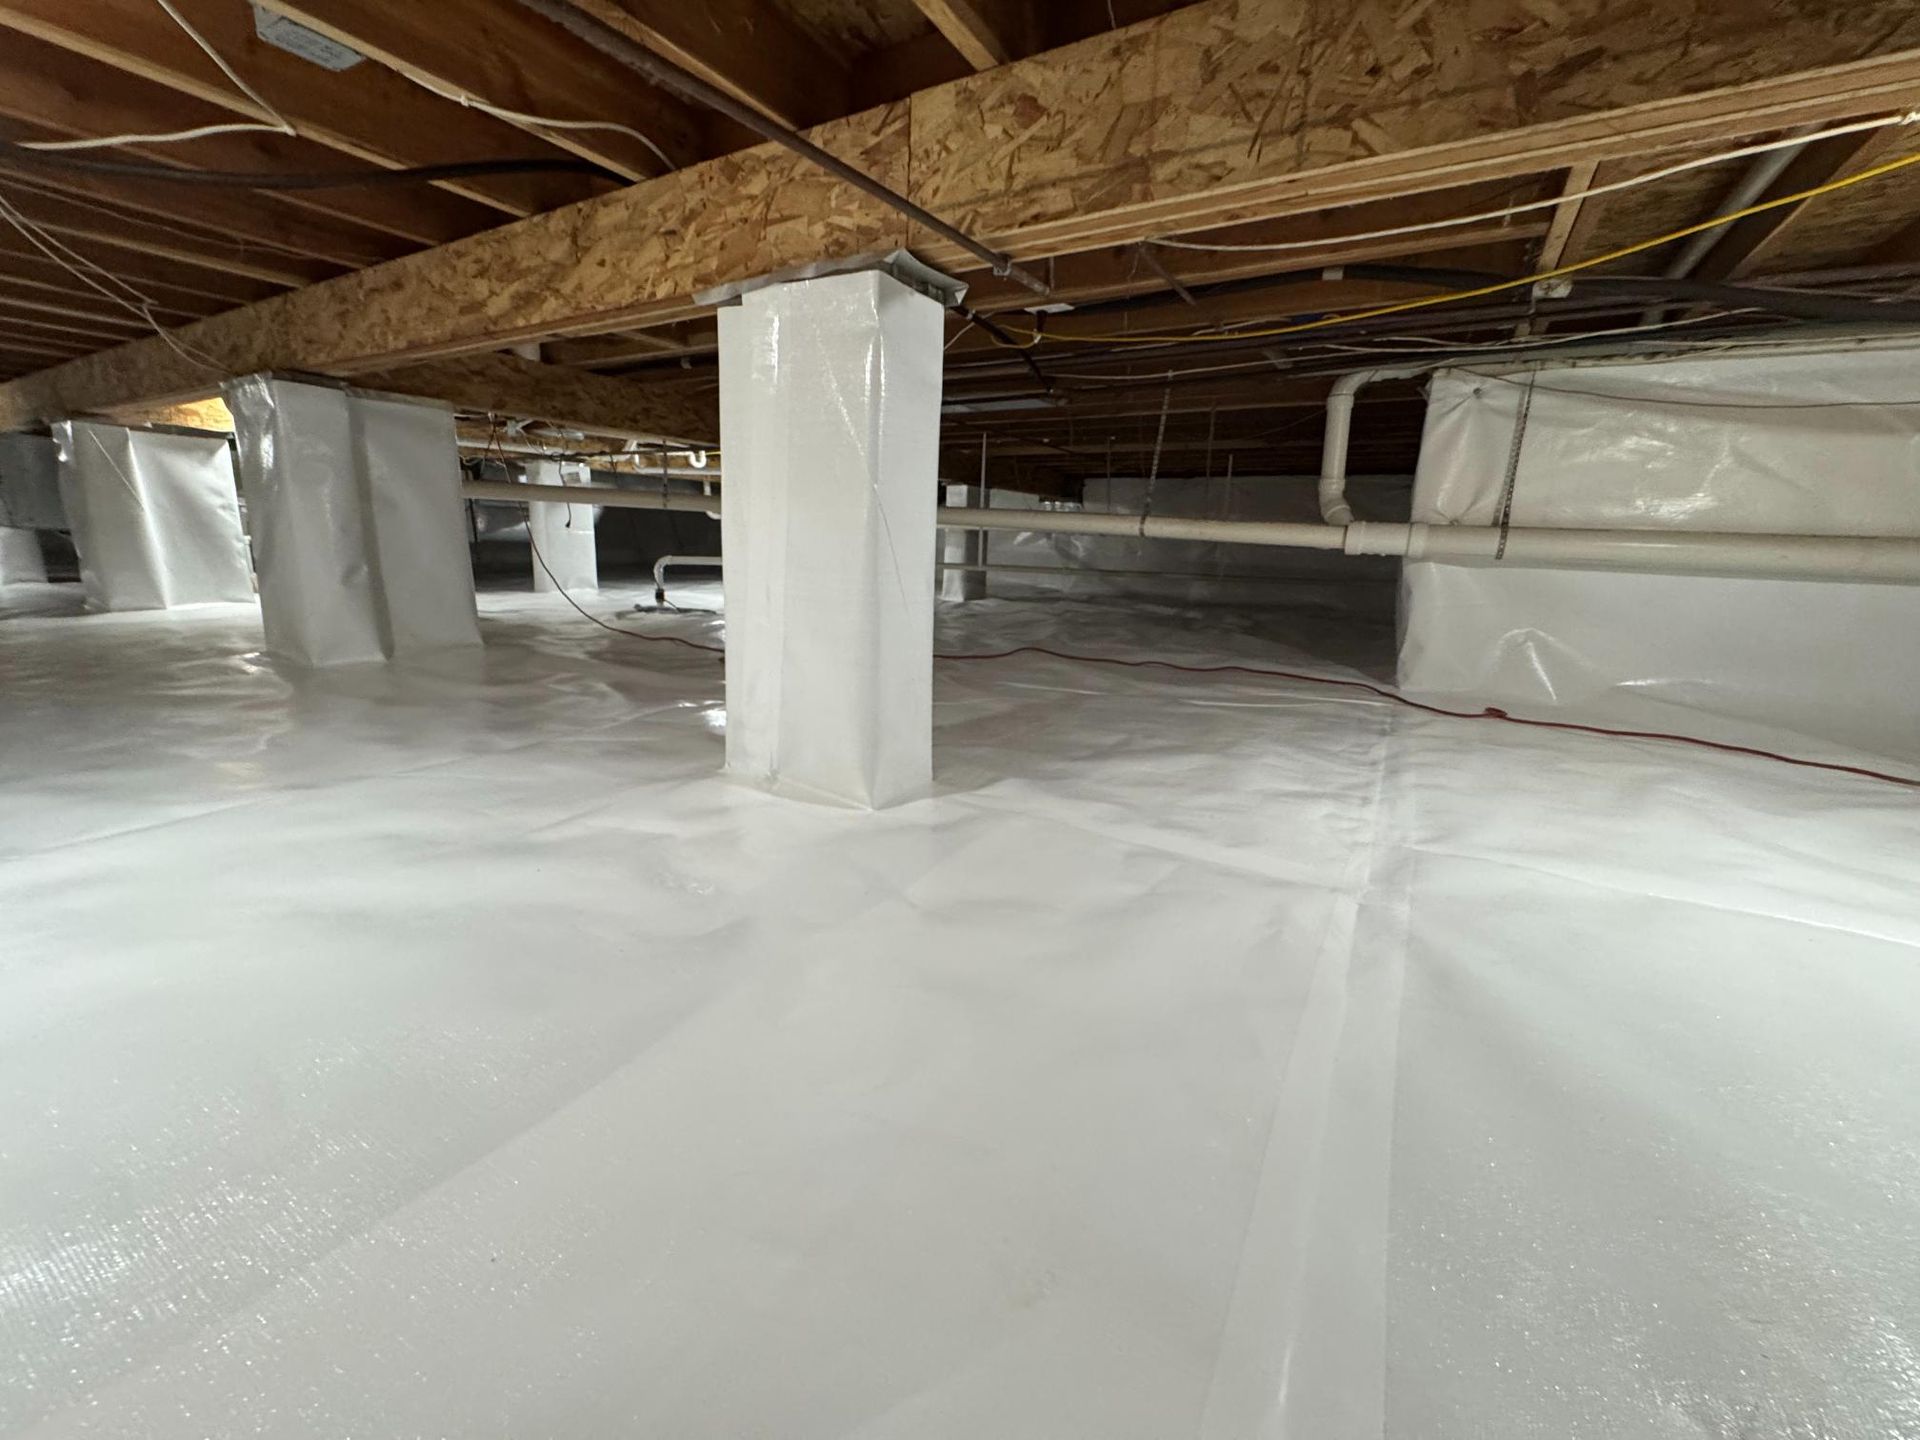
A proper installation means full coverage — edge to edge, corner to corner. Seams overlapped by at least twelve inches and taped. Edges sealed to the foundation walls. Material thick enough to hold up for years without tearing or deteriorating.
That's what we're doing in this video. It takes longer than just rolling plastic across the floor and calling it a day. But that extra time is the difference between an encapsulation that actually works and one that looks fine until it doesn't.
If you're paying for crawl space encapsulation, you deserve to know it was done right. Not just done.
What This Protects in Your Home
A properly installed vapor barrier doesn't just keep your crawl space dry. It protects your entire home from the ground up.
Your floor framing system takes the most direct hit from crawl space moisture. The joists, the beams, the subfloor — all of it is wood. And wood and moisture don't mix well over time. High humidity causes wood to absorb moisture, which leads to softening, warping, and eventually rot. That's when floors start feeling spongy underfoot or develop squeaks that won't go away.
But it goes beyond the structure.
About 50% of the air you breathe inside your home comes from your crawl space. That's not an exaggeration — it's just how air moves through a house. Warm air rises, pulling crawl space air up through gaps in your subfloor and into your living space. If that air is full of moisture, mold spores, or debris, that's what your family is breathing.
A sealed vapor barrier reduces humidity at the source. Lower humidity means less chance of mold growth on your floor joists. Less structural damage over time. Cleaner air circulating through your home. And lower energy bills because your HVAC system isn't working overtime trying to manage excess moisture.
This is why we take the installation seriously. What happens at the floor of your crawl space affects everything above it — including the people living there.
What to Ask Your Contractor Before They Start
Before anyone goes under your house, ask these questions.
What thickness of vapor barrier are you using? Thinner material tears and deteriorates faster. A quality encapsulation uses 12 mil poly or heavier.
How are you handling the seams? Seams should overlap by at least twelve inches and be properly taped. Anything less and you've got gaps.
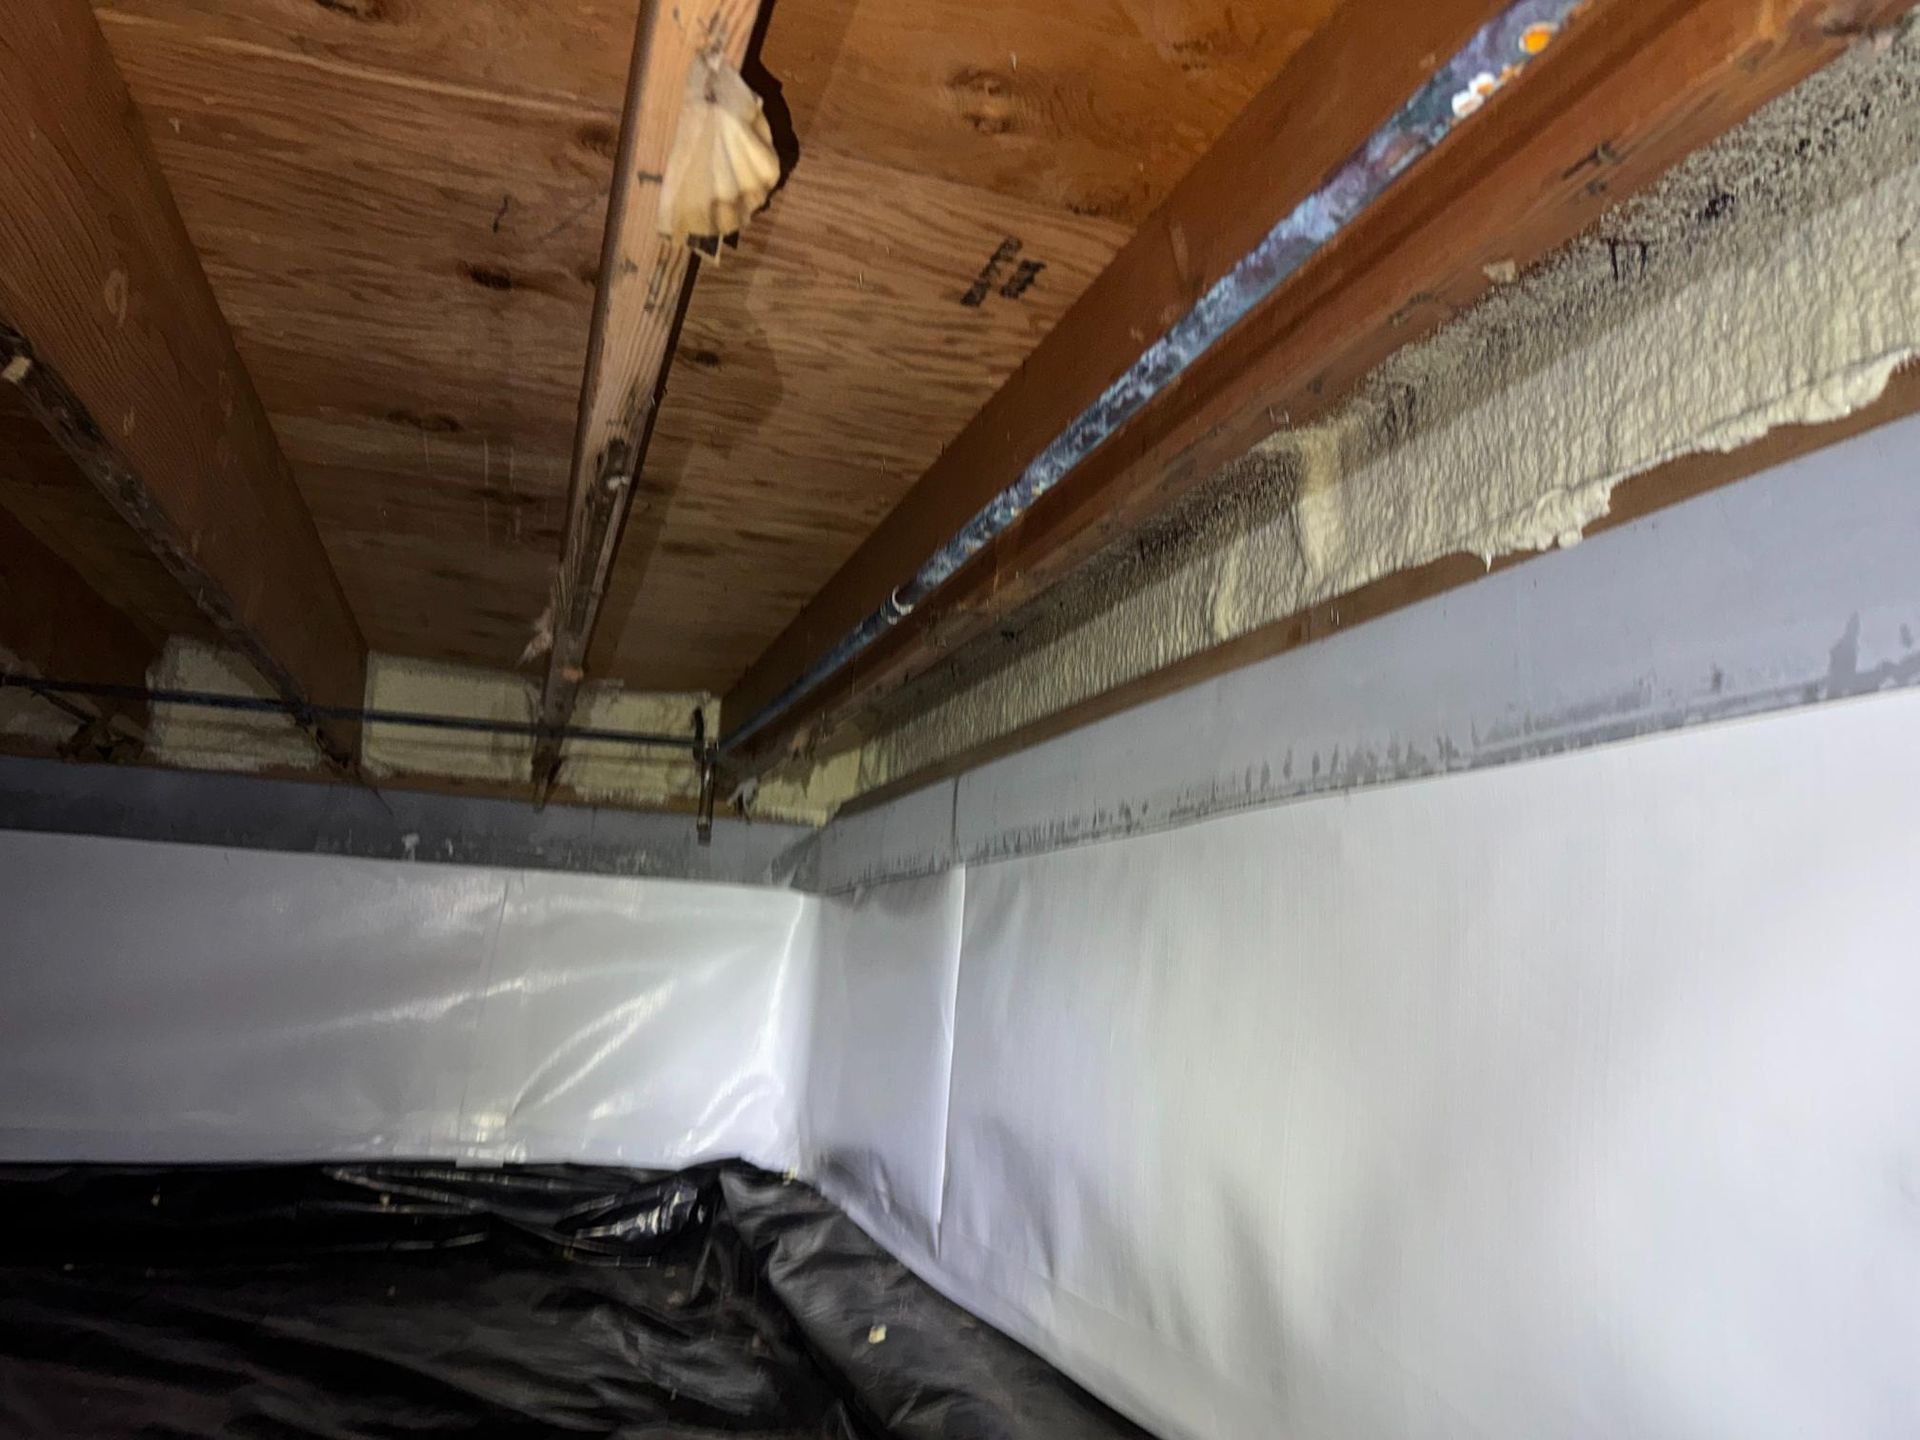
Are you sealing it to the walls? The vapor barrier shouldn't just cover the floor — it should run up the foundation walls and be sealed at the top. That's what creates a complete moisture barrier.
Can I see photos during and after installation? Any contractor confident in their work should be happy to document it. If they're not, ask yourself why.
Red flags to watch for: vague answers about materials, unwillingness to show you the finished space, or quotes that seem unusually low for the scope of work. Quality materials and proper installation take time. If the price doesn't reflect that, the work probably won't either.
You're making a real investment in your home. You have every right to understand exactly what you're getting.
What Real Encapsulation Looks Like When It's Done Right
When we finish a crawl space encapsulation, here's what you should see.
Clean white vapor barrier covering every inch of the floor. No exposed ground anywhere. Seams properly overlapped and taped. Edges sealed up the foundation walls. The whole space bright and accessible, not dark and difficult to navigate.
If we've installed a dehumidifier, it's properly mounted and draining correctly. If there's a sump pump or crawl drain, everything works together as a system — not just individual fixes thrown at individual problems.
And the space itself should feel different. Less damp. Cleaner. Actually usable if you needed to get in there for any reason.
That's what done right looks like. Not just vapor barrier on the floor and a handshake at the door. A complete, functional system that's going to protect your home for years.
We do a full video walkthrough when we're finished so you can see every part of the completed job. Because you should know exactly what you paid for — and be able to see it for yourself.
Book A Free Inspection Now
Your crawl space problems aren't going to fix themselves. But they are fixable. Let's get it done — the right way, permanently.
Or call us directly (217) 863-9559
Ready to See What's Really Going On Under Your Home?
If you've got moisture issues, musty smells, soft floors, or you just don't know what's happening under your house — we'd love to help.
Chris or I will come out, do a thorough inspection, and show you exactly what we find. No pressure, no big sales pitch. Just honest answers about what's going on and what it would take to fix it.
If you're in Mahomet or anywhere in Central Illinois, reach out anytime. We'll get back to you personally.